Hi Guys!
There is a great repository with a bunch of information in https://fox-exe.ru/WDMyCloud/. There you can find details, how-to’s, firmwares, photos of the internal boards, all you need to recover your WD My Cloud, or hack it!
The detailed instructions in English for replacing the disk on Gen 1 can be found here.
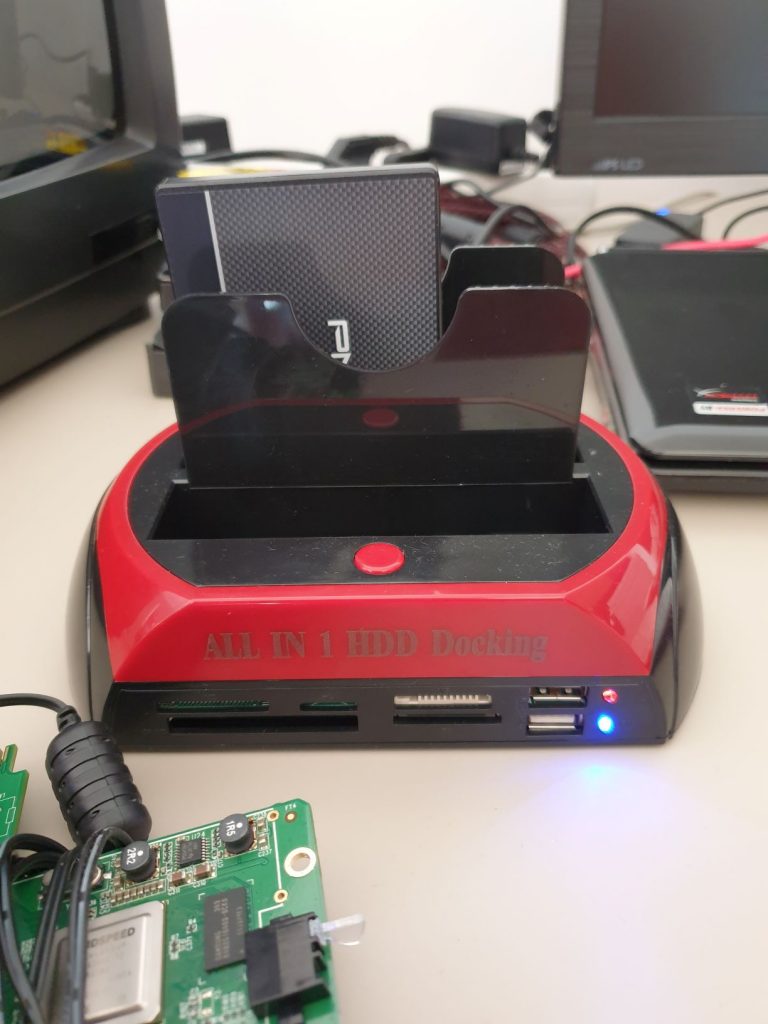
First, I connected the new SSD disk to my EEEPC (running LUBUNTU), through the USB HD Docking.
My EEEPC’s disk is /dev/sda and new SSD is identified as /dev/sdc.
Your disk may differ (can be /dev/sdb, or other) – make sure you are selecting the correct disk! All data of the disk will be lost! All instructions are using /dev/sdc as the destination disk, replace sdc with the correct one!
You can identify your disks with the command:
sudo fdisk -l
If the disk is new, you don’t have partitions created (my case).
Else, if you have partitions on the disk that will be connected to the my cloud’s board, use fdisk to remove all the partitions. Run fdisk:
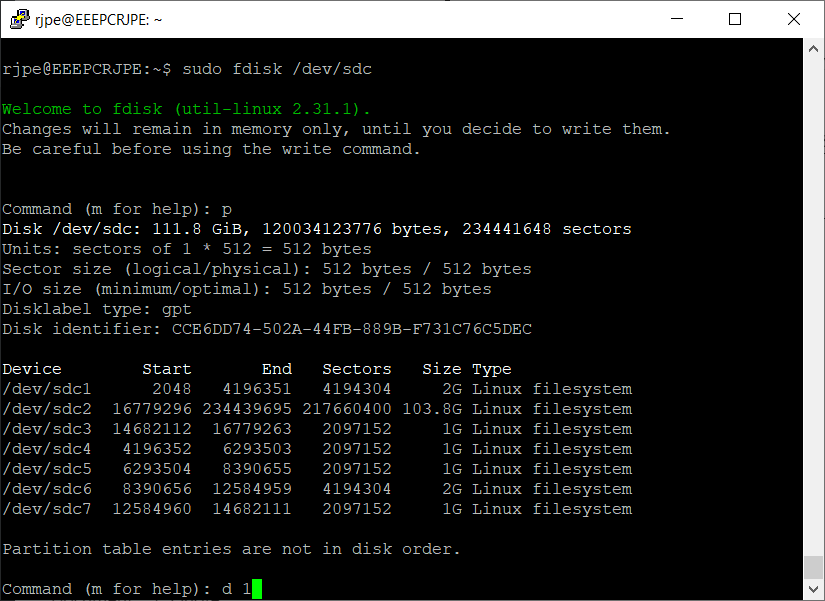
sudo fdisk /dev/sdc
where /dev/sdc is the new disk.
List the partitions with “p” (print). Delete the partition one by one, with “d” followed by the partition number. At the end, type “q” to quit fdisk.
Another way, wipe the disk off:
dd if=/dev/zero of=/dev/sdc bs=512 count=1
The picture shows printing the partitions and deleting partition one (d 1) with fdisk.
Then, using the parted command, create the Global Partition Table (GPT), and 8 partitions:
sudo parted /dev/sdc
sudo mklabel gpt
mkpart primary 528M 2576M
mkpart primary 2576M 4624M
mkpart primary 16M 528M
mkpart primary 4828M 100%
mkpart primary 4624M 4724M
mkpart primary 4724M 4824M
mkpart primary 4824M 4826M
mkpart primary 4826M 4828M
set 1 raid on
set 2 raid on
Type q [ENTER] to quit parted, and now let’s format the partitions.
Format the swap partition and the data partition:
mkswap /dev/sdc3
mkfs -t ext4 /dev/sdc4
In order to configure the disk, you need mdadm installed, you do that by typing on Terminal:
sudo apt install mdadm
And since I had no RAID running, I just needed to run the RAID creation for partitions 1 and 2, like this:
mdadm –create /dev/md0 –level=1 –metadata=0.9 –raid-devices=2 /dev/sdc1 /dev/sdc2
Then, download the images (find in google!).
Uncompress the image files, and then using the dd command, write the images to the correspondent partitions:
dd if=kernel.img of=/dev/sdc5
dd if=kernel.img of=/dev/sdc6
dd if=config.img of=/dev/sdc7
dd if=config.img of=/dev/sdc8
dd if=rootfs.img of=/dev/md0
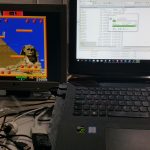
Here is a picture of my EEEPC writing kernel.img to the 5th partition of sdc (/dev/sdc5).
Finally, give the instruction that will rebuild MyCloud on the new disk:
sudo mkdir /mnt/wdraid
sudo mount /dev/md0 /mnt/wdraid/
sudo touch /mnt/wdraid/etc/.fresh_install
sudo umount /mnt/wdraid
Now, power-off the disk station, remove the disk, and connect it to WD My Cloud’s Board. Connect the board to the network, power-on and wait from 5 to 10 minutes while it configures everything.
The LED will be flashing a yellow light.
Check your router DHCP Server assigned addresses, or use an IP scanner like Angry IP Scanner to see if it appears in the network as “WDMyCloud”. It will get, most probably, the previous IP address assigned.
Connect to it using a browser, and follow the instructions (it will be like your first usage of the device).
If it doesn’t recognizes the data partition / volume at your first try, do a full factory restore (it will take sometime), by going to Settings->Utilities and pressing the “Full Restore” button.
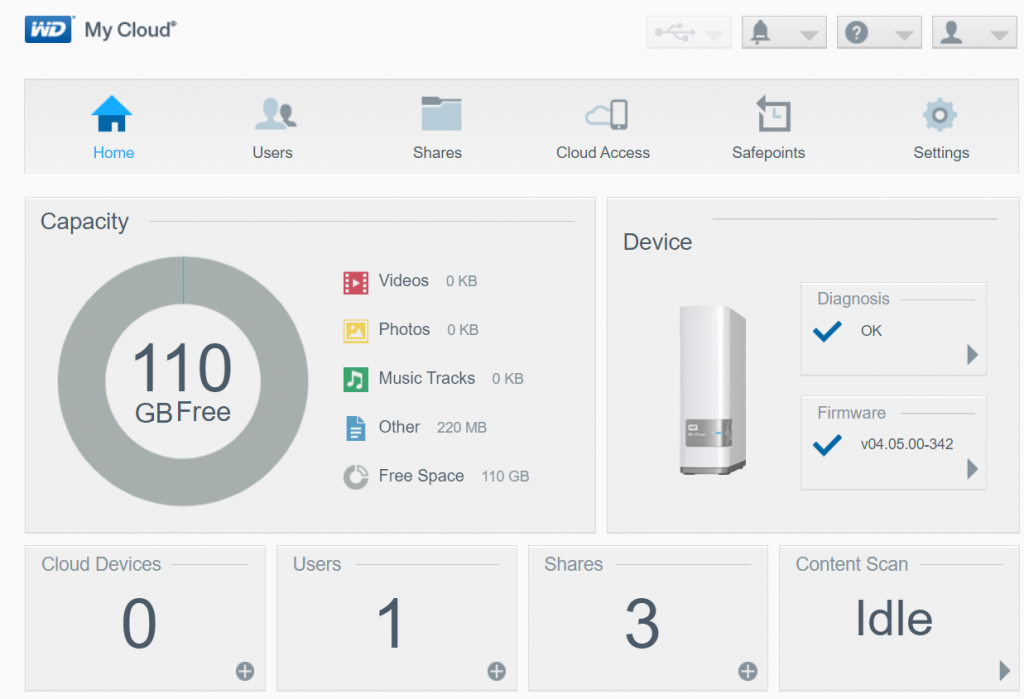
You can go to Settings -> Firmware, and update to the latest firmware available (04.05.00-342).
The interface is much more responsive, but the writing (factory resets and firmware upgrade) takes a little more time.
Some notes:
- If you are replacing the disk with a SSD or 2,5” disk, to securely fix the disk on the board you will need a disk bay adapter.
- Depending of how you want to use WD My Cloud, a SSD might not be the best option – for a multi-propose NAS use a WD Red disk.
- In my opinion, the best NAS solution (at this moment) for home use is Synology. If you want to build your own NAS, I would use a Raspberry PI.
Cheers!