Hello World!
Since I didn’t find an image for the Raspberry PI containing ZXBaremulator, I decided to create one, with already a few games stored, and share it with you.
The file is available for download at the Downloads section.
The image is for creating a 1 GB partition on a micro SD, with the necessary files to run ZXBaremulator in Raspberry PI Zero, PI 1, PI 2 and PI 3.
I tested the image successfully with a Raspberry PI Zero W, a Raspberry PI 2 Model B and a Raspberry PI 3 Model B.
Install Image on micro SD Card
First, you need to download the image from here. The image is compressed in ZIP format, after download finishes please extract it to your computer’s disk.
Insert you micro SD in your computer, trough your internal SD Card slot or external Card Reader.
Then, download balenaetcher and install it.
You have ports for Windows (32 and 64 bit), MAC and Linux, download the version correspondent to you system.
After installing balenaetcher, execute it.
Then select the uncompressed image (zxbe_perdigaosarcade.img) and your SD Card (the application should select it automatically, if not click “Change” and select the correct disk):
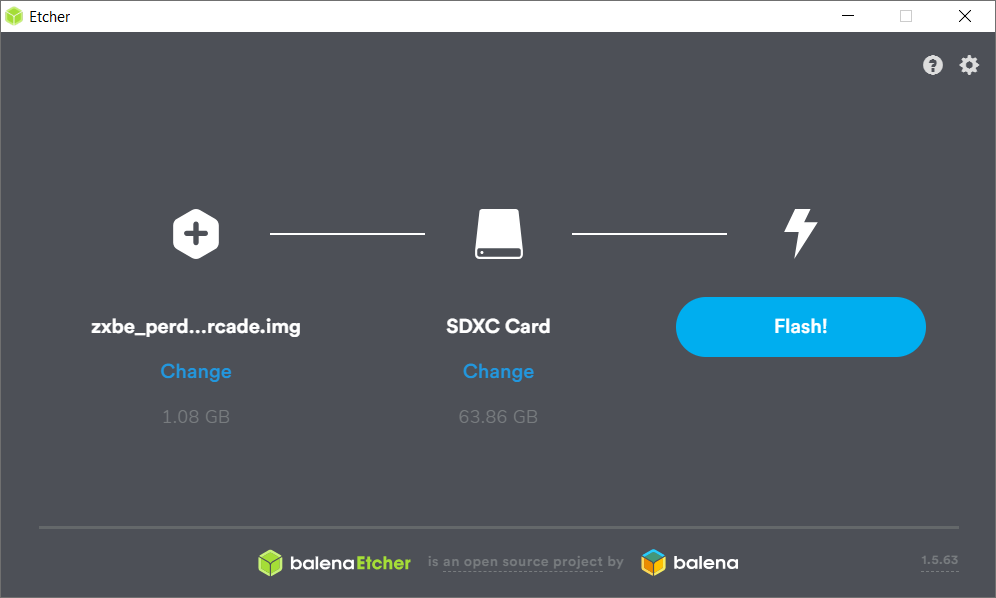
Click the “Flash!” button, then click “Yes” on windows warning message, and wait until it finishes.
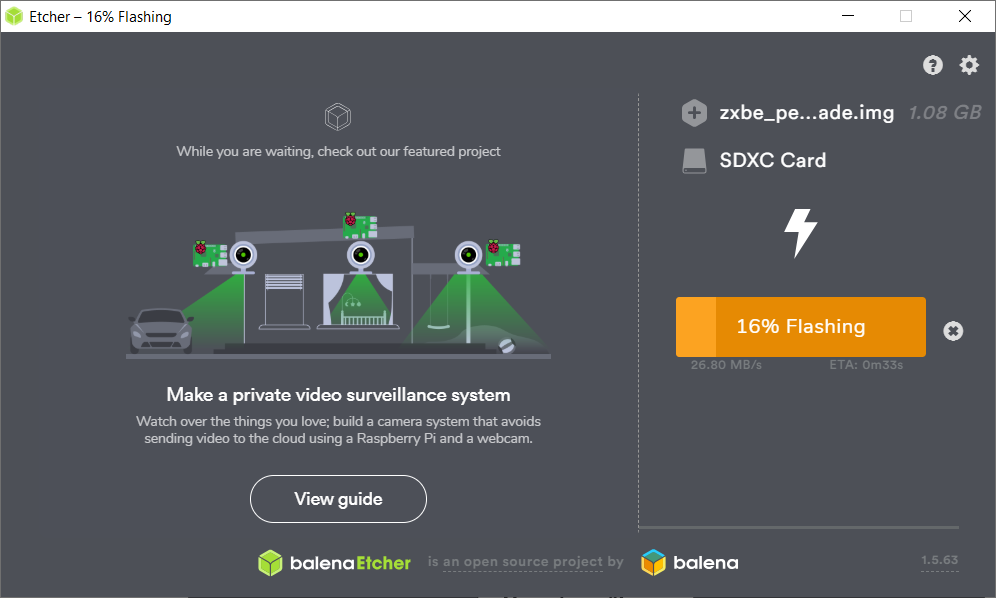
When you get the “Flash Complete” notification, remove the micro SD Card from your computer, and insert it in the Raspberry PI. Connect the PI to your monitor, Keyboard, and then connect the power supply.
And that’s it! Welcome back to:
(C) 1982 Sinclair Research Ltd
If you need more than 1 GB to store games, jump to my post ZXBaremulator SD Install Step 2 – Partitioning the micro SD, and resize the partition to the size you need.
Cheers!