Hello Guys!
This post shows some ZXBaremulator‘s screenshots, and gives some guidelines for starters. I also review the ZXBaremulator with the Recreated ZX Spectrum and Raspberry PI Zero W. Also show some keyboard shortcuts to access special functions, both with the Recreated ZX Spectrum and a normal Keyboard.
Setup
So, let’s start with our testing. First, just a brief explanation of my test suite configuration.
- Raspberry Pi Zero W
- SD Card created, through the steps:
- mini HDMI to HDMI cable;
- HDMI Monitor;
- micro USB to USB Adapter;
- Raspberry PI Power Supply;
- Official Raspberry PI Keyboard with USB HUB;
- Recreated ZX Spectrum.
The Recreated ZX Spectrum is connected to a USB Port of my Raspberry PI Keyboard, which connects to a USB to micro USB adapter, and then to the PI Zero.
Starting ZXBaremulator
First, ZXBaremulator is real Bare Metal! There is no Linux, the PI boots directly to the emulator.
When you power on the PI you’ll get this:
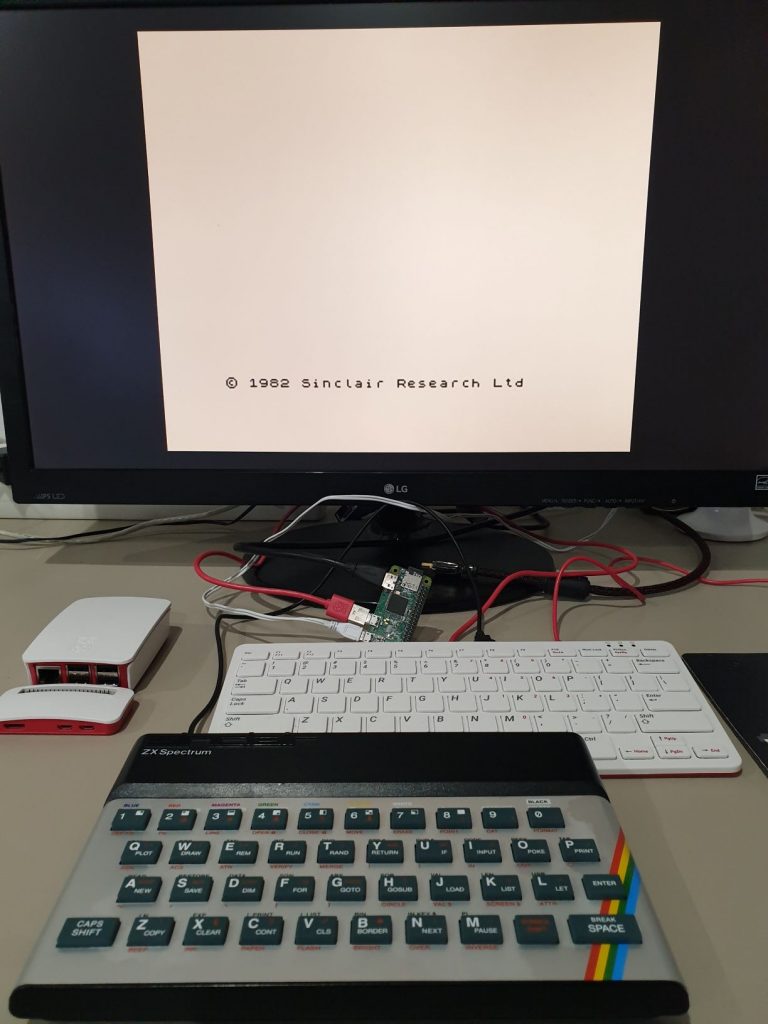
Awesome! This is the first positive point to ZXBaremulator! Real and hard ZX Spectrum prompt, and ready to get some BASIC commands, functions and programs!
But wait… where is my Cassette Player?!! …
Before typing LOAD “” you need to select the game previously stored on the SD Card, like described on Updating the Files on the micro SD.
Keyboard
The Raspberry PI Keyboard is used to provide a more easy way do some of the ZXBaremulator‘s functions, like accessing and exiting the Menu by pressing [F1], and changing the ZX Spectrum Version – [Left ALT + F2] to 48K mode, [Left ALT + F3] to 128K mode and [Left ALT + F4] to 128K+2 mode. [Left ALT + K] will show the ZX Spectrum 48K Keyboard Layout (usefull if you are not using the Recreated or Real 48K), and Keyboard Shortcuts Help. [Left ALT + R] will reset the emulator.
You can also connect directly the Recreated ZX Spectrum to the PI Zero, but you will need to change between “Standard” and “Alternate” modes, by pressing [Caps-Shift + Symbol-Shift + ENTER].
For instance, accessing and exiting the Main Menu in the ZX Keyboard is done by pressing [1] in Alternate Mode (which corresponds to the [F1] on a standard keyboard). To change the ZX Spectrum Version, still in Alternate Mode, press [Symbol-Shift + 2] to 48K mode, [Symbol-Shift + 3] to 128K mode and [Symbol-Shift + 4] to 128K+2 mode. [Symbol-Shift + R] will reset the emulator. Accessing the files is done using [Q] (up) and [A] (down). To enter a Directory or select a Game press [SPACE].
[Symbol-Shift + K] will do the same as [Left ALT + K] on a normal keyboard, shows the 48K Keyboard Layout and Help.
Selecting a Game
First press [F1] (or [1] in Alternate Mode), to access ZXBaremulator‘s Menu.
You will get this screen:
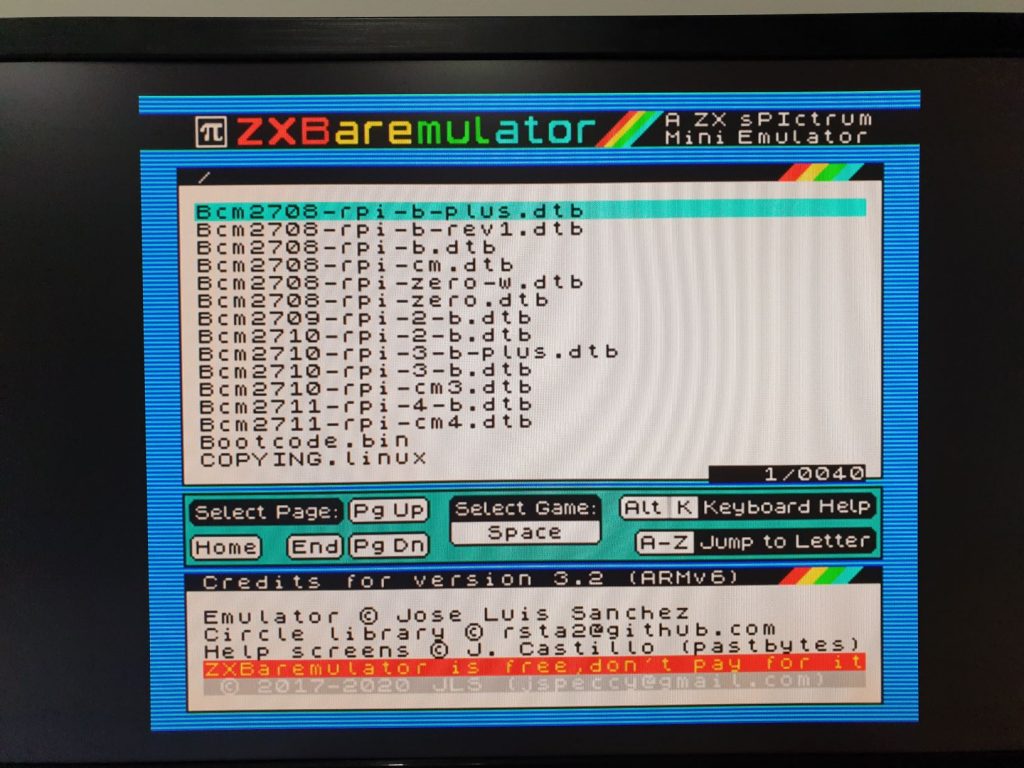
Now, press [Page Down] and then [Cursor Down] until the TAPS folder is highlighted, and then press [SPACE] to enter into the directory.
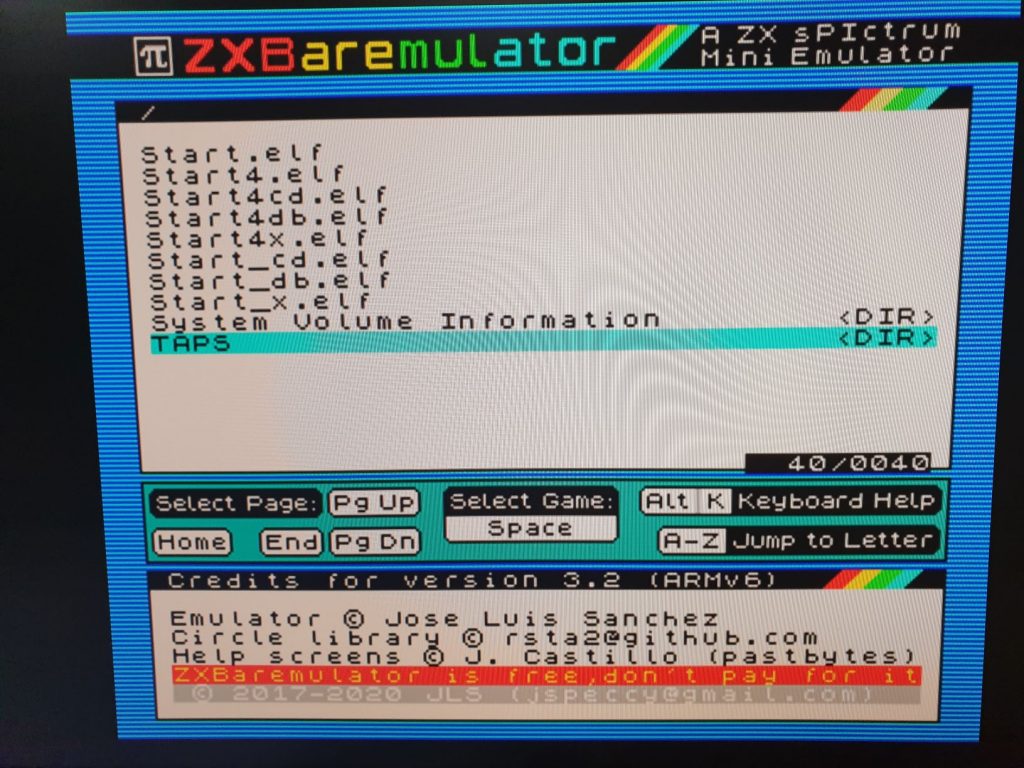
After pressing [SPACE] you will get the subfolders that contain the 48K only, 48K+128K and 128K only games.
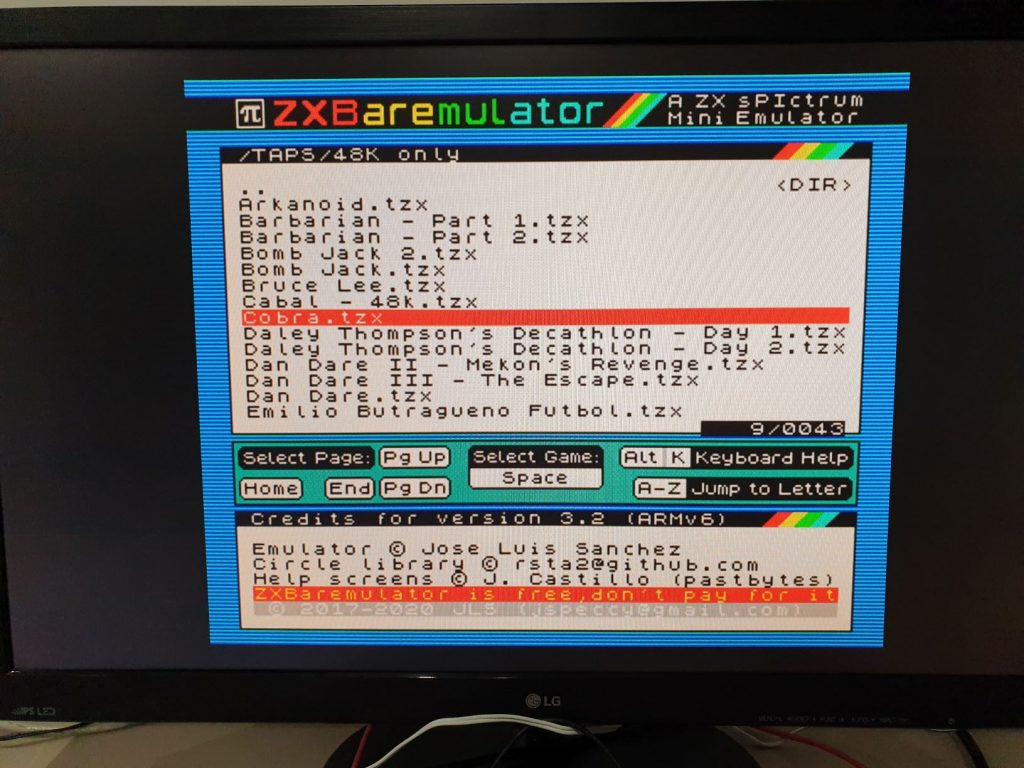
I wanted to try Cobra (a 48K game), so I entered the “48K only” sub-folder, and selected it with [SPACE].
That’s it! The game is selected for loading. You now need to exit the Menu by pressing [F1] (or [1] in Alternate Mode), and return to ZX Spectrum Mode.
Loading a Game
The moment we were all waiting for:
press [ j ] [Symbol Shift + P] [Symbol Shift + P]
on the Recreated ZX Spectrum, or should I say:
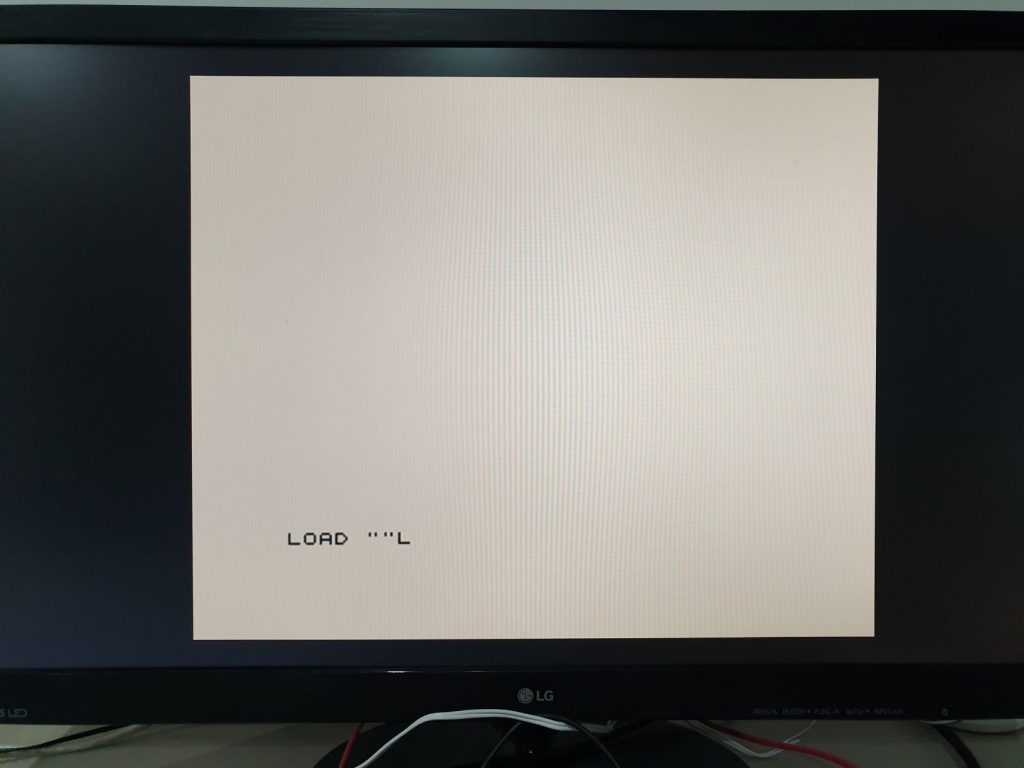
Then, press [ENTER] and, as expected, the Loading starts!
If you like to ear the loading sound, and don’t mind waiting more time for the game to load (like in the good old days, loading from the cassette), then press [Left ALT + F8], to change the loading speed from “Fast” to “Normal”.
Here is Cobra‘s loading screen:
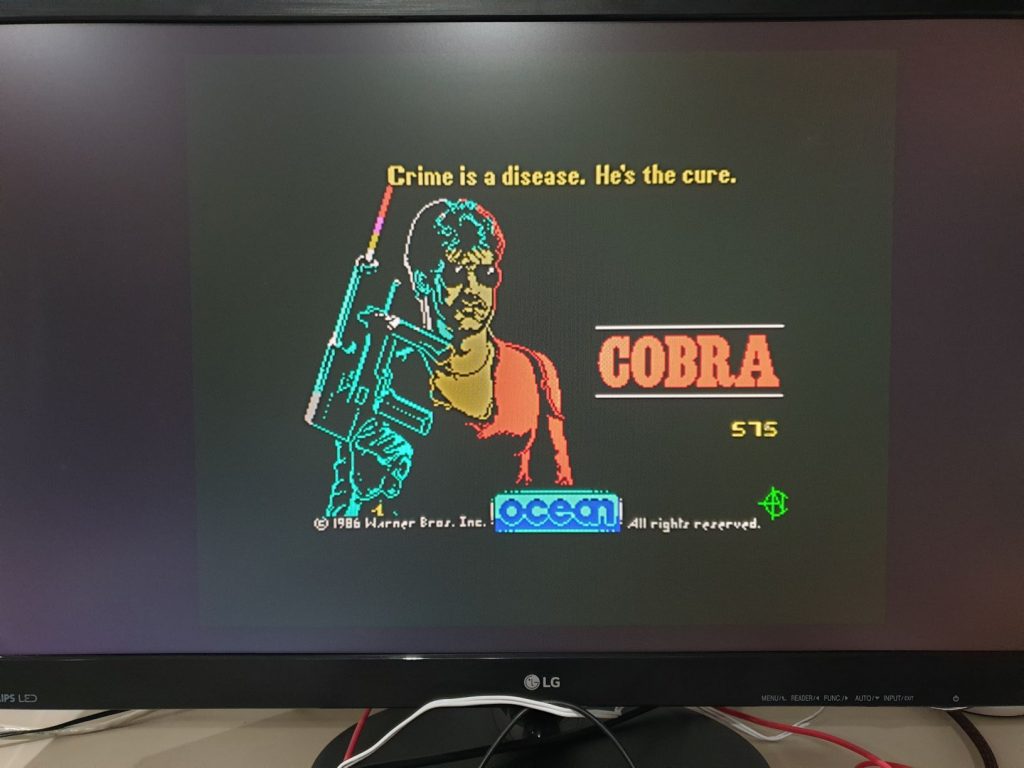
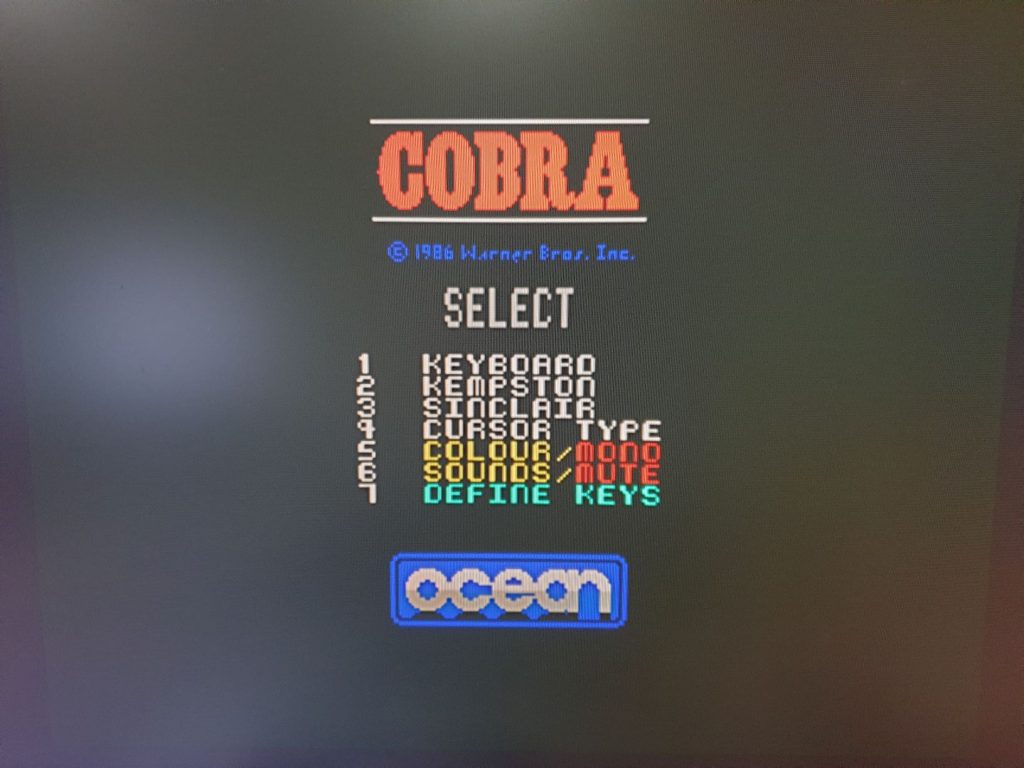
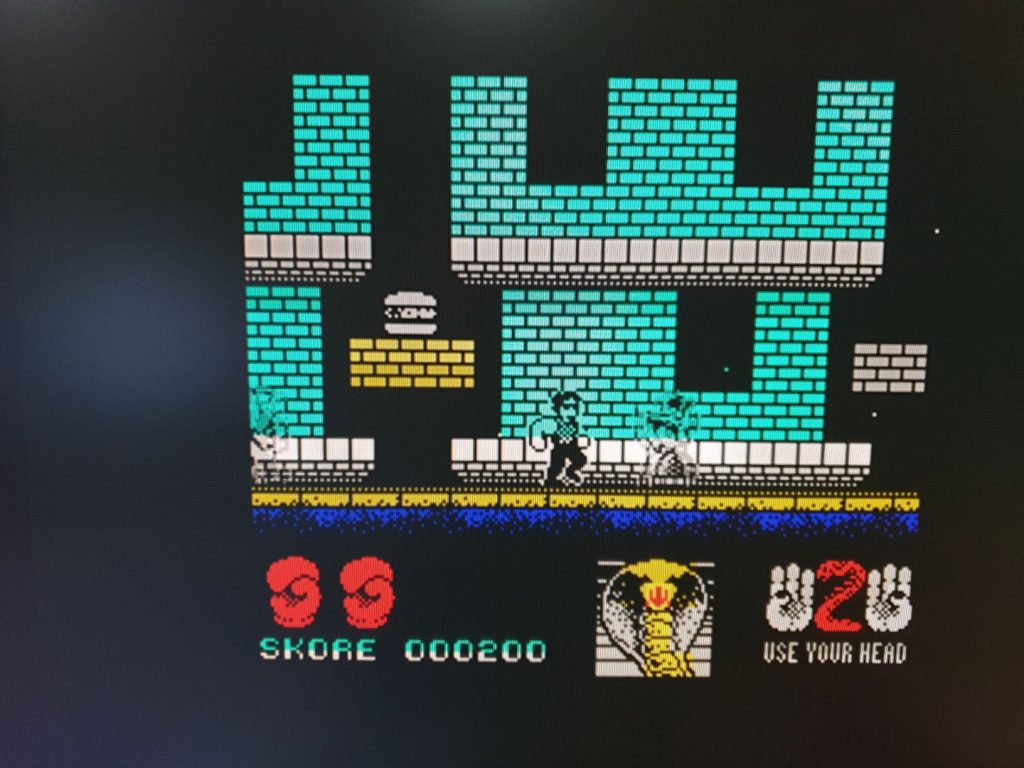
Once the load finishes, let’s redefine keys, choose the keyboard as the controller and start enemies head-butting!
No Sound on PI Zero through HDMI
According to this Spectrum Computing Forums thread, created by ZXBaremulator‘s Developer (zx81), since ZXBaremulator is very CPU demanding, on Raspberry PI Zero W you have no sound through HDMI. The same applies to Raspberry PI 1.
ZXBaremulator needs two CPU’s to process sound through HDMI, so if you want sound through HDMI don’t use a PI Zero or a PI 1, use a PI 2 or a PI 3 instead.
But, still, this is a negative point, because the PI Zero can be perfectly hidden inside the Recreated ZX Spectrum, or a real ZX Spectrum 48K. Without sound, the emulation will not be complete.
Conclusion
ZXBaremulator is a real Bare Metal ZX Spectrum Emulator for the Raspberry PI. The tiny computer boots directly to the emulator (and ZX Spectrum 48K welcome message), like if we are using a real 48K.
The Recreated ZX Spectrum is fully supported, so if you have one, it is a must to connect it to a Raspberry PI with ZXBaremulator, and practically transforming your keyboard into a ZX Spectrum.
Unfortunately, the Raspberry PI Zero W (and PI 1) doesn’t have sound with this emulator in HDMI. It is a limitation for those who might be thinking in hiding the PI Zero inside the ZX Spectrum Keyboard.
Alternatively, you may go with connecting the GPIO pins to get analog sound output, like described here.
I already tested the same SD on Raspberry PI 2 Model B, and the sound works! Everything works the same (very well!), and with sound. Even the sound of typing LOAD “” is the same as the original. Great!
The Emulation is perfect! I only can tell the difference because I’m using a modern monitor instead of a 4:3 CRT TV.
I’ll test this setup later with a CRT TV, and post a video with the loading process on the Raspberry PI 2 Model B. Even more realistic emulation!
Summarizing, the emulation is perfect and it works very well with the Recreated ZX Spectrum!
Cheers!

Great review and tutorial – thank you.
Just one observation, the link to Pi Zero Audio didn’t work for me, but I found it this URL works:
https://recalbox.gitbook.io/tutorials/audio/analog-audio-output-on-pi-zero
Thank you! Updated the broken link. Best!