Well, I actually did it! The Arcade Project was finished before Christmas and the child liked it a lot (it has the games she likes playing in “Perdigao’s Multiple Arcade“: Pac-Mania, Out-Run, and all the others).
In terms of system configuration, the only thing I added was background music to AdvMENU, you can do this by copying MP3 files to the following location:
.advance/mp3/
And it simply works. I used the “Back To The Future” Theme, which always looks great on Arcade Cabinets Menus, and it is not so annoying as the default sound of advance menu (what’s that sound??).
A few decisions I had to make because of lack of time and/or project options:
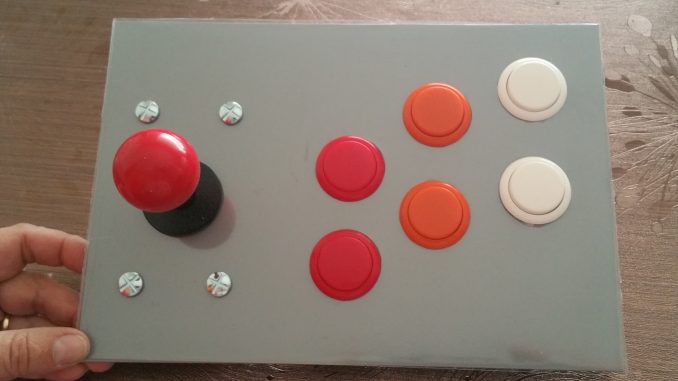
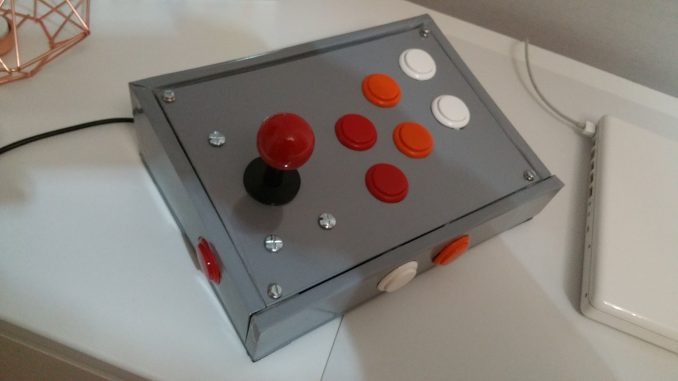
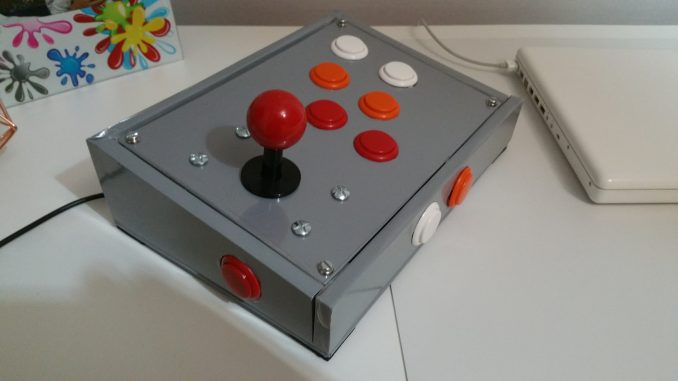
- Didn’t paint the panel – less that a day to the ink to dry, and next assemble everything -no time- gray vinyl sticker paper did the job, and it looks good;
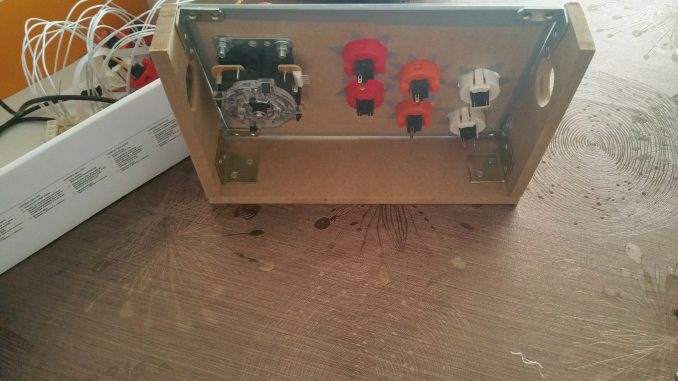
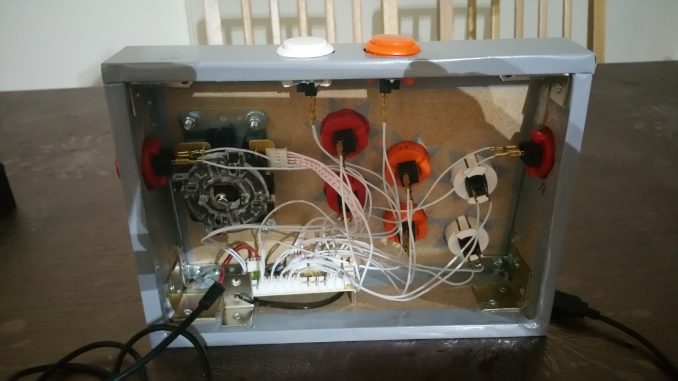
- The Raspberry Pi is out of the panel – I decided to keep the Raspberry Pi in it’s own housing, so that the player only needs one cable (USB) to the PI and that’s it. It would be painful to connect the HDMI as well. It is safer like this taking in account that it is for a child;
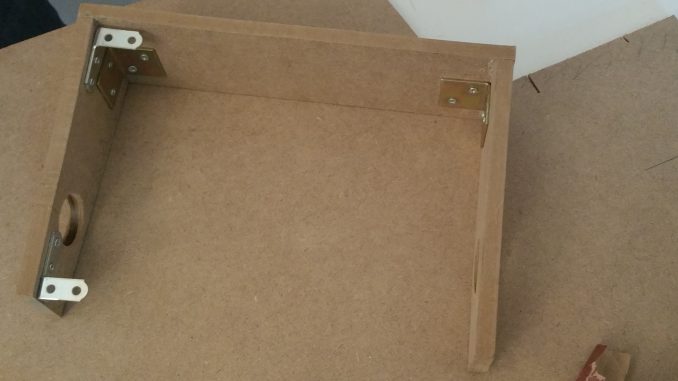
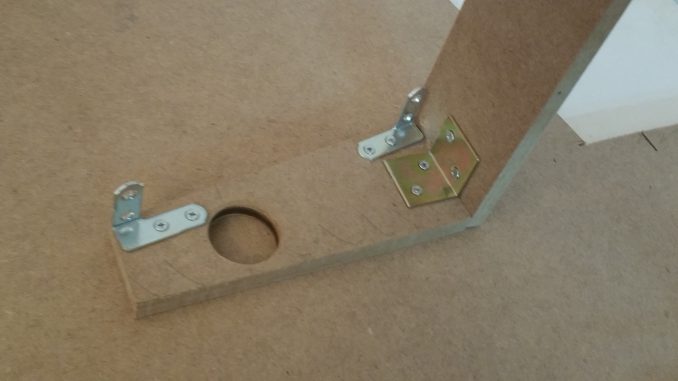
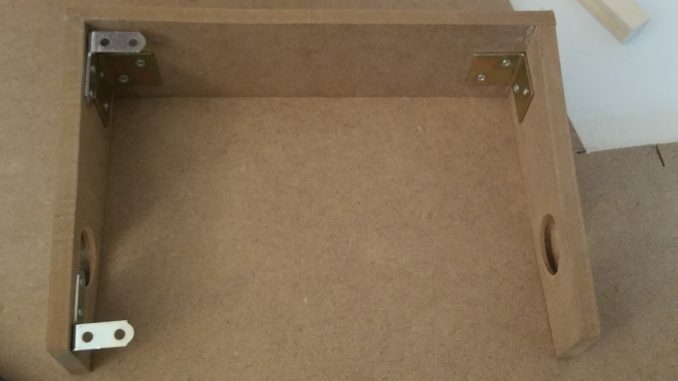
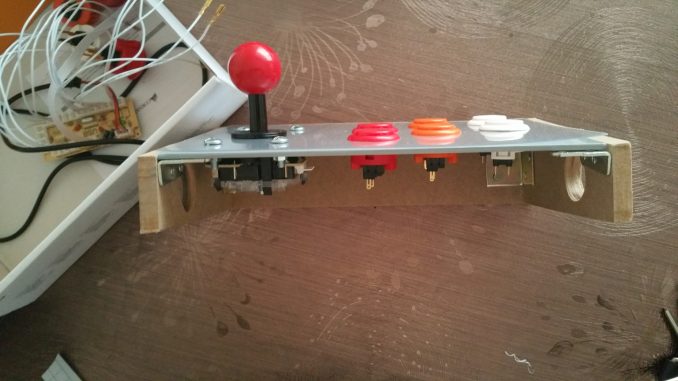
- L-Brackets instead of glue: no time for the glue to dry
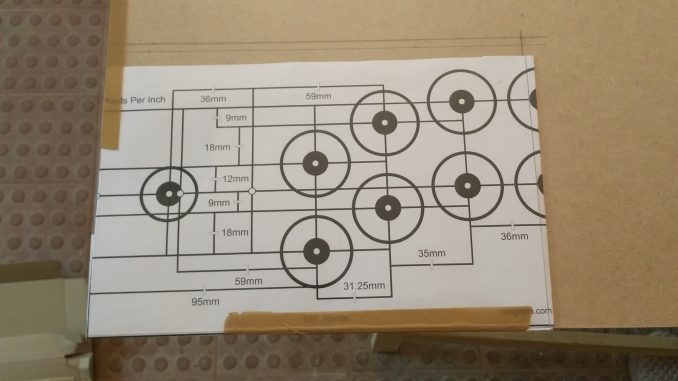
I’ll post the complete walkthrough later on, for now check some photos of the progress and final looks.


Have yourself a good Arcade project!
Cheers!

Well done!
Hope you all have good times and fun adventures while playing.
Best regards,
PBL