

Hi Guys!
I’m sharing with you an “How-To build a Home Media Center” Tutorial, using a Raspberry PI 3 Model B+, OSMC and a Synology NAS.
I’m using OSMC and Raspberry PIs to play my personal media arround the house (Movies and Music), and also for using NetFlix (when not supported by the TV itself).
OSMC (Open Source Media Center) is one of the most used distributions with the Raspberry PI.
It’s based on KODI Media Center!
So if you are familiar with this application, you know everything you can do with it: view Internet IPTV Streaming Channels, On-Line Services similar to NetFlix, view Movies and TV-Series on the Internet.
All my TV’s connect to either a Raspberry PI Zero W, or Raspberry PI 2 Model B+ or a Raspberry PI 3 Model B+, with OSMC installed.
At the date and time of this post, Raspberry PI 4 is still not supported by OSMC, but it is under development.
4K playback is only supported on PI 4, so the best resolution you’ll get today is 1080p (Full HD).
This post will describe the hardware and peripherals used to setup my Home Media Center Solution.
Hardware and Peripherals Choices
For this tutorial, I’m using a Raspberry PI 3 Model B, 64GB microSD Card, and an IQaudio Pi-Digi+ board.
The last component is needed to get Digital Sound Output (through TosLink) from the PI, and connect it to a Marshall Woburn Speaker.
If you intend to use the TV internal speakers, you don’t need this, HDMI will send the sound to the TV.
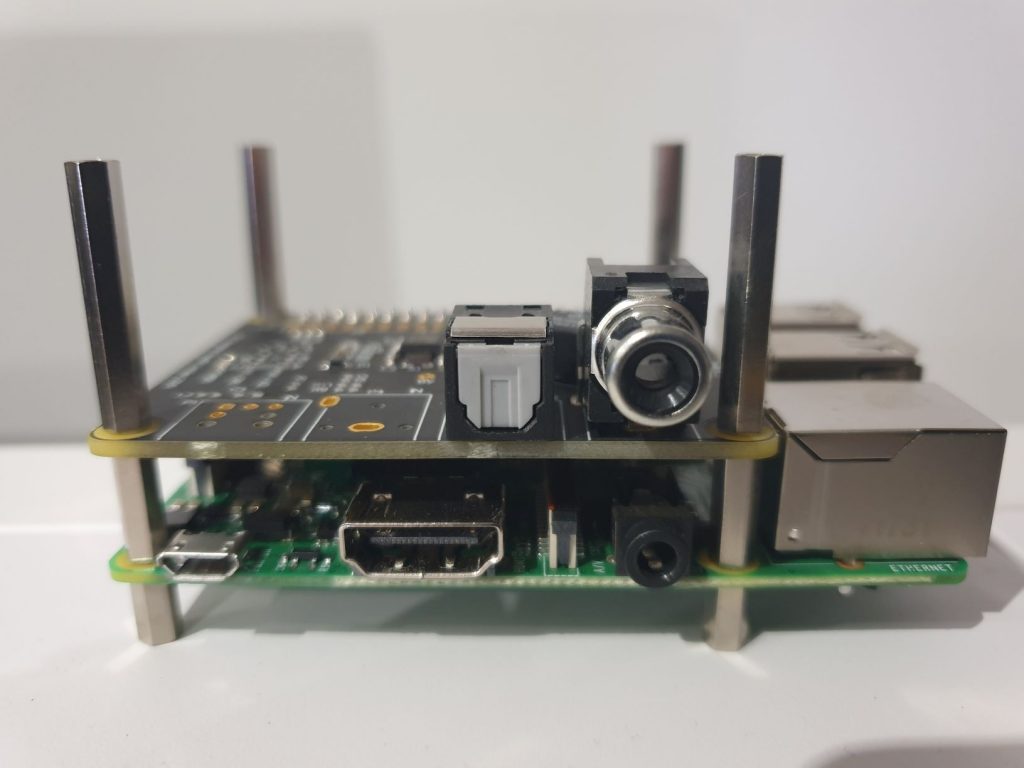
The IQaudio Pi-Digi+ board is connected to the PI using the 40-PIN GPIO interface, like presented on the next photo. It will provide the PI two additional sound outputs: Toslink and Coaxial Digital Audio.
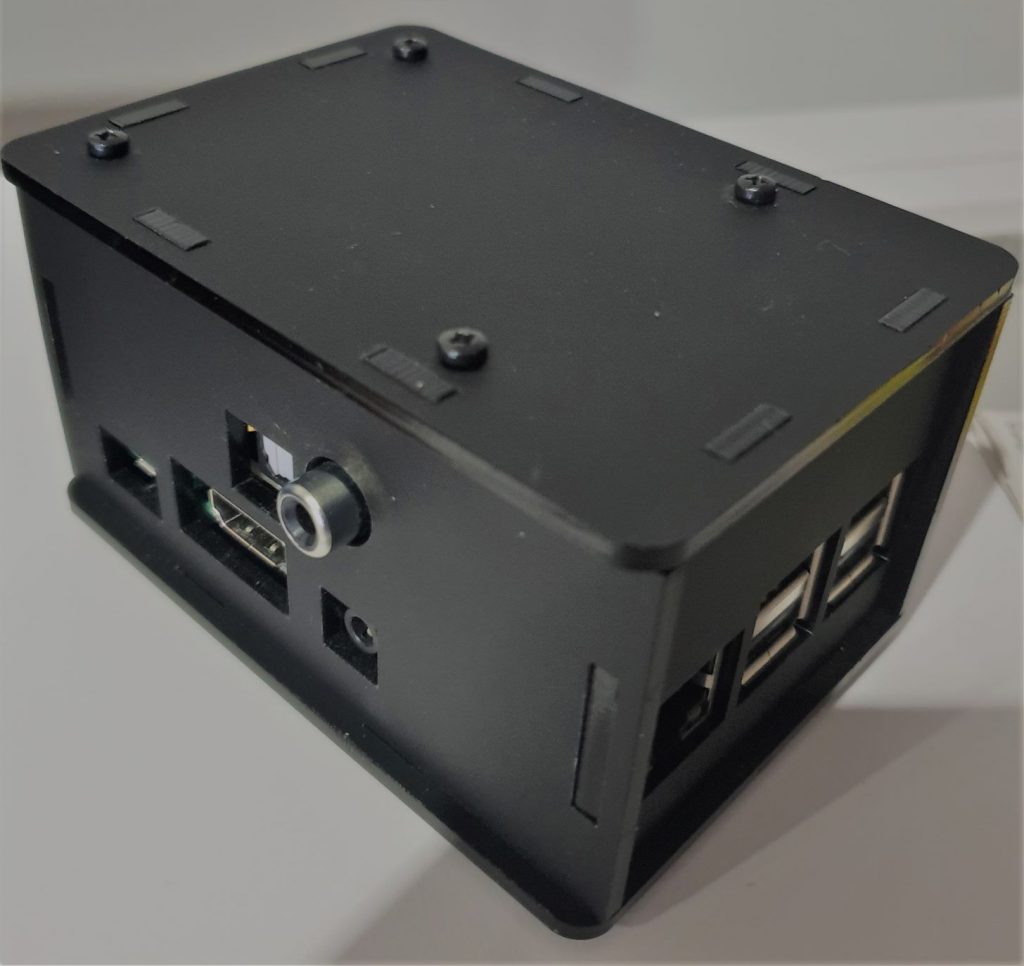
To hide the components, I needed a special case. I chose a product sold by The Pi Hut store (previously ModMyPi), specially designed for this setup – the IQaudIO Pi-Digi+ Case (Matte Black).
You’ll find details about this case here.
Here is a photo of the assembly:
To interact with the system’s Interface I’m using two peripherals, a MKPlus Master Keyboard (wireless Media Center keyboard and mouse), and an OSMC Remote Control. The wireless receivers of both devices are connected to two of the PI’s USB Ports.
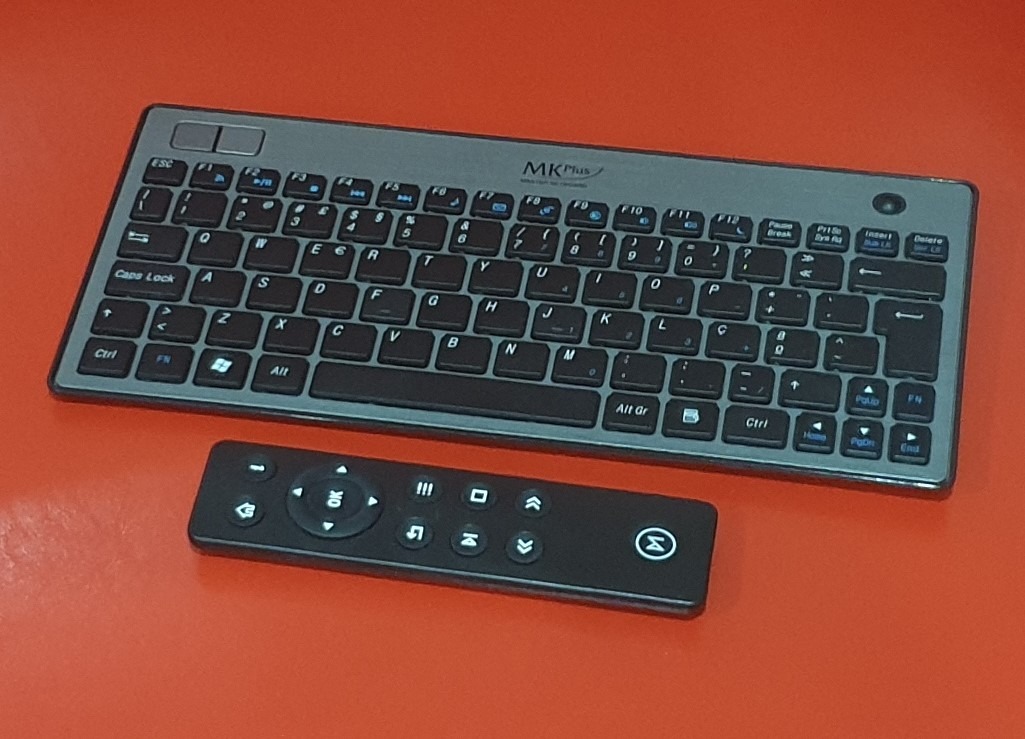
The remote works great with OSMC. But, for searching movie titles, browse the Internet, inserting usernames and passwords, etc., a Media Center Keyboard is a must!
For the Media Center Keyboard you have several options available. Related to the Remote Control, I would choose the OSMC Remote Control, since it is specifically designed for this system.
Storage
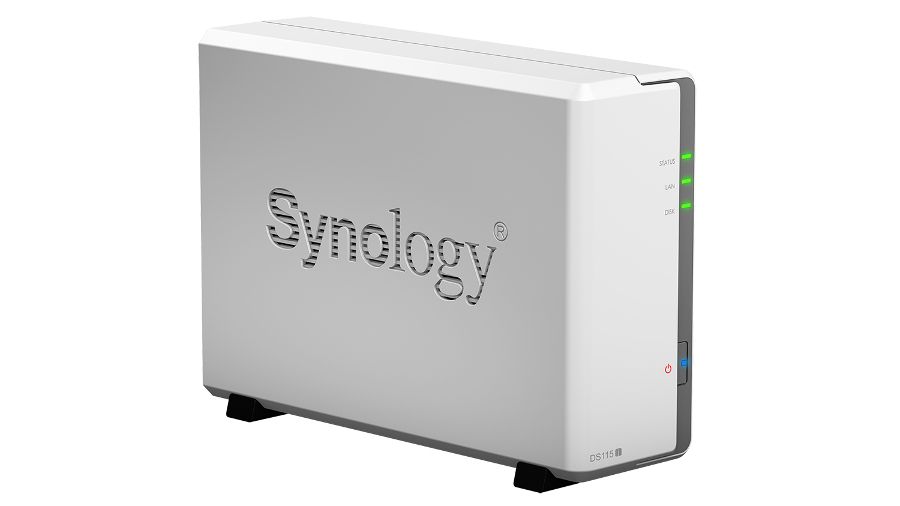
Since I’m running several OSMC clients on my home network, the best way to share the Media Files is with a NAS (Network Attached Device).
My setup uses a Synology DS115j, an entry-level product from this vendor. It has only one disk bay, and was the cheapest Synology at the time (2016). The equivalent product today (2020) is the DS120j.
It lacks mirroring (RAID1), but I even prefer to backup the data to an external disk (WD 3TB USB3), daily, and during the night.
Recovering RAID arrays can be a pain. For home use, I will always choose a NAS with a single disk, and with periodic backups to an external disk. Low-Cost, Simple, Fast Writing and Works Great!
Hardware List
Here is my detailed Hardware list:
- Raspberry PI 3 Model B;
- Raspberry 3 PI Power Supply;
- IQaudio Pi-Digi+;
- TosLink Cable;
- 64GB microSD Card;
- IQaudIO Pi-Digi+ Case (Matte Black);
- HDMI Cable;
- MKPlus Master Keyboard;
- OSMC Remote Control;
- Synology NAS DS115j with a WD Red 3TB disk;
- Western Digital Elements Desktop 3TB USB3;
- Marshall Woburn Speaker.
Next Steps
In my next posts, I will present all the steps required to implement a Media Center Solution based on Raspberry PI and OSMC, with Media shared through a Synology NAS.
The first step will be the installation of OSMC.
Then, I’ll post the required steps for OSMC initial configuration (including IQaudio Pi-Digi+ configuration, and buying and configuring the Raspberry PI Video Codecs Licences).
After that, I will describe how to configure the connection between OSMC and the Synology NAS.
See you soon!
Cheers!