

Hi Guys!
In my previous post you saw the hardware details of my setup.
Now, first step, install OSMC‘s image inside a micro SD Card.
For that you’ll need:
- A PC or Mac with a SD slot, or an external SD Card reader;
- A SD to micro SD adapter (usually comes with the micro SD);
Go to https://osmc.tv/download/ and download the installer for your system (Windows or Mac, I’m using Windows 10 Pro).
Insert the micro SD Card on your computer.
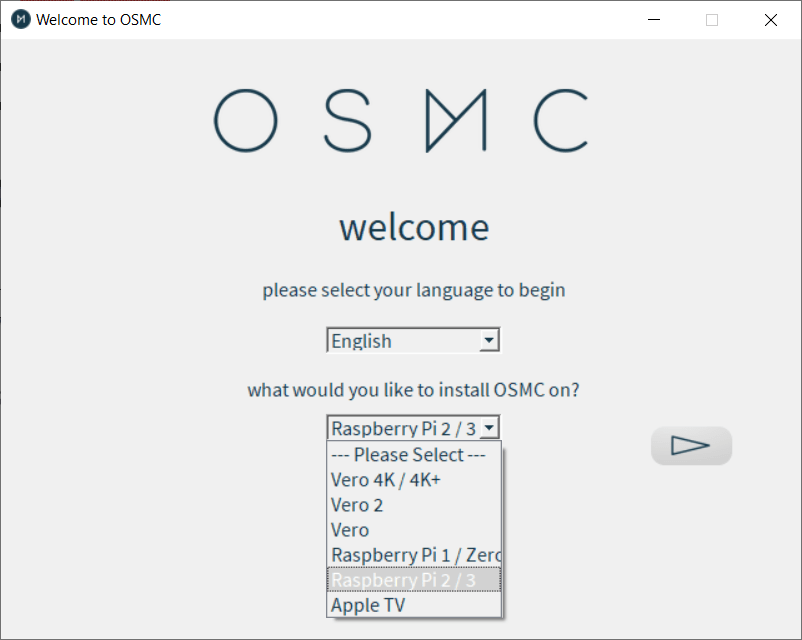
Run the OSMC installer. Choose your option (my case Raspberry PI 2/3).
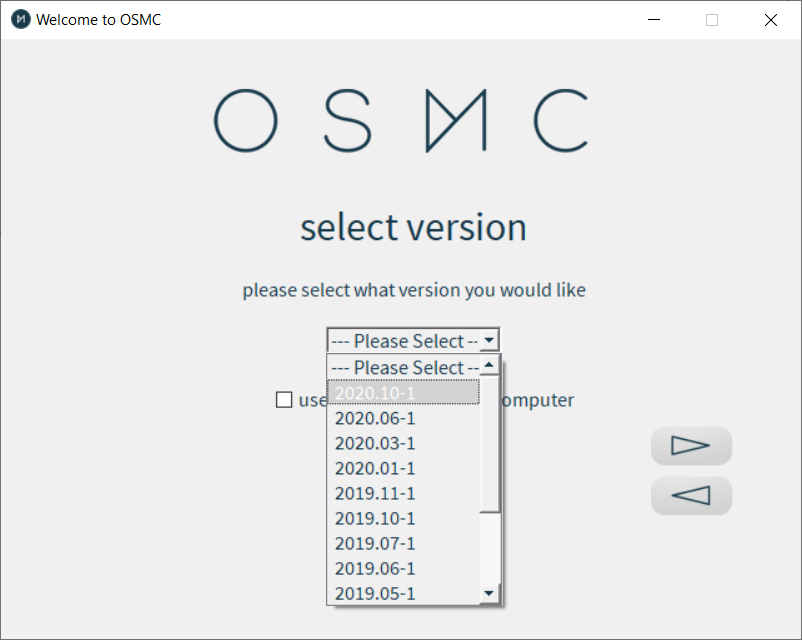
Choose the latest version (at this time, 2020.10-1).
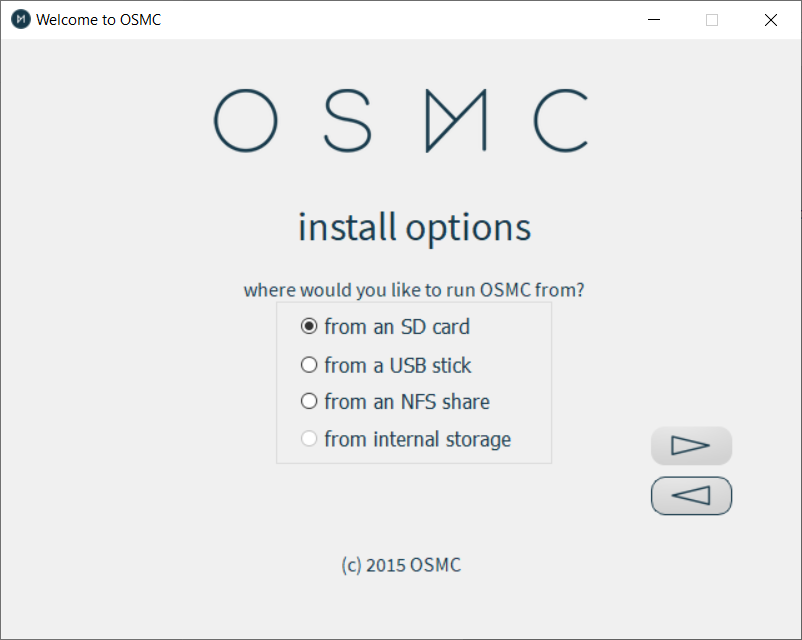
Choose the SD Card option.
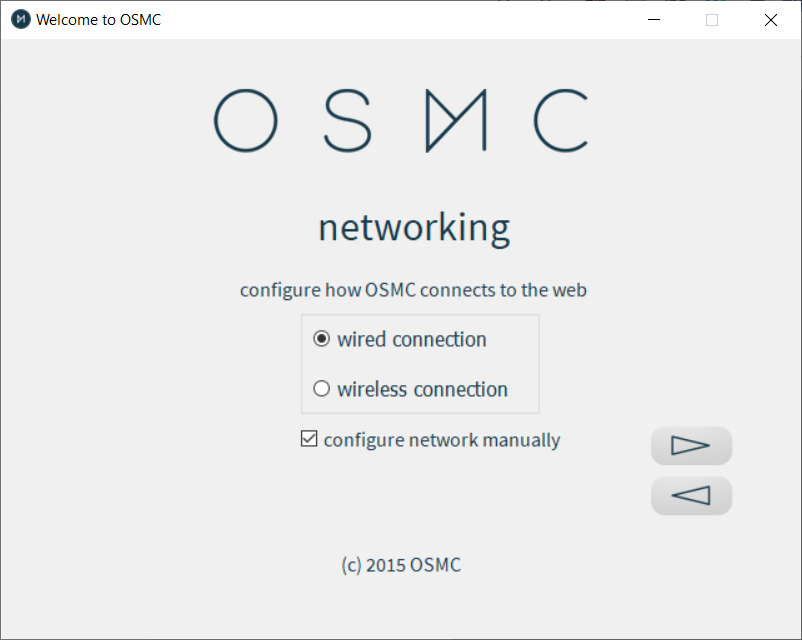
Choose your network connection. I’m connecting the PI through Ethernet (recomended), so I chose the first option.
I’m also using a PI Zero W (Wi-Fi) on my son’s room, and it works pretty well. But, an Ethernet cable is always better than a wireless link!
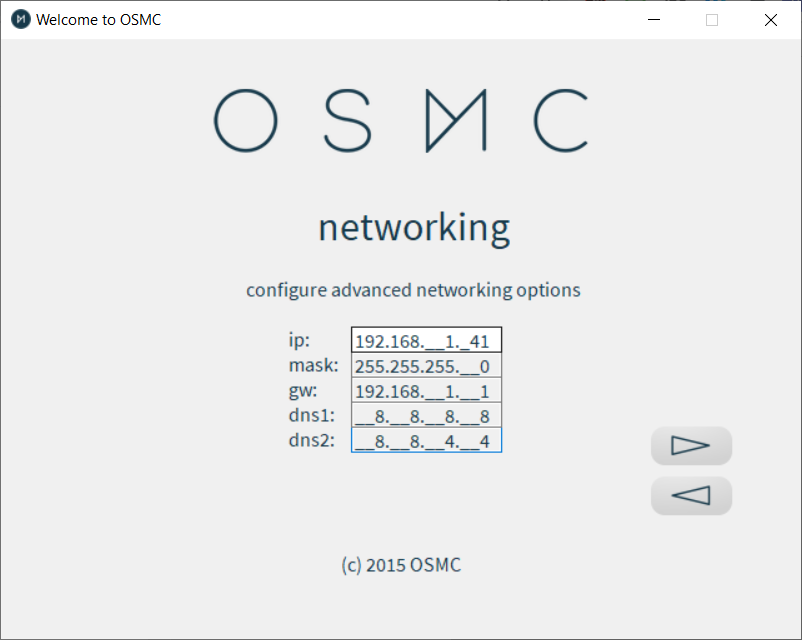
Then, I checked the “configure network manually”, because I need a fixed IP (for my Synology’s NFS server).
Then, configure the IP details (IP 192.168.1.41, Netmask: 255.255.255.0, my router is 192.168.1.1 and the DNS are the ones from Google: 8.8.8.8 and 8.8.4.4).
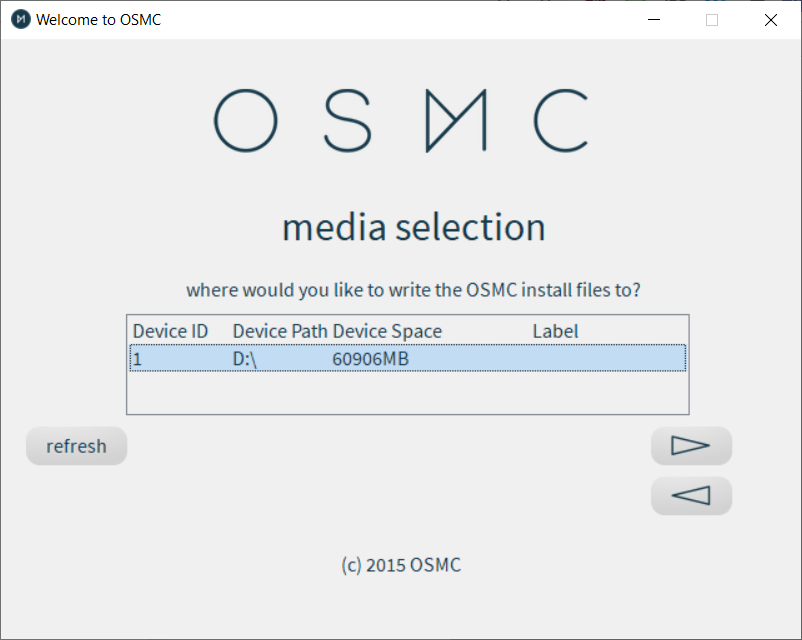
The installer detects the SD Card (D: drive), I chose it and clicked the arrow to the right.
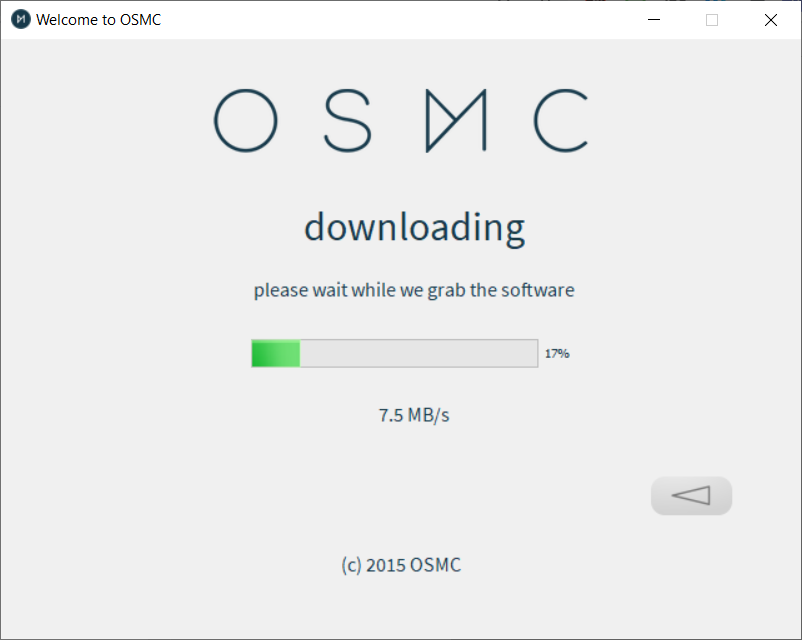
Accepted the license agreement, clicked right arrow, and let the installer download the distribution.
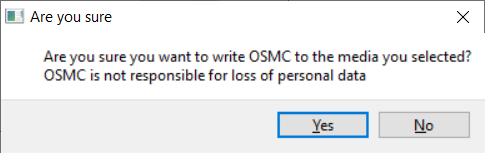
Clicked the “Yes” button on the following Dialog.
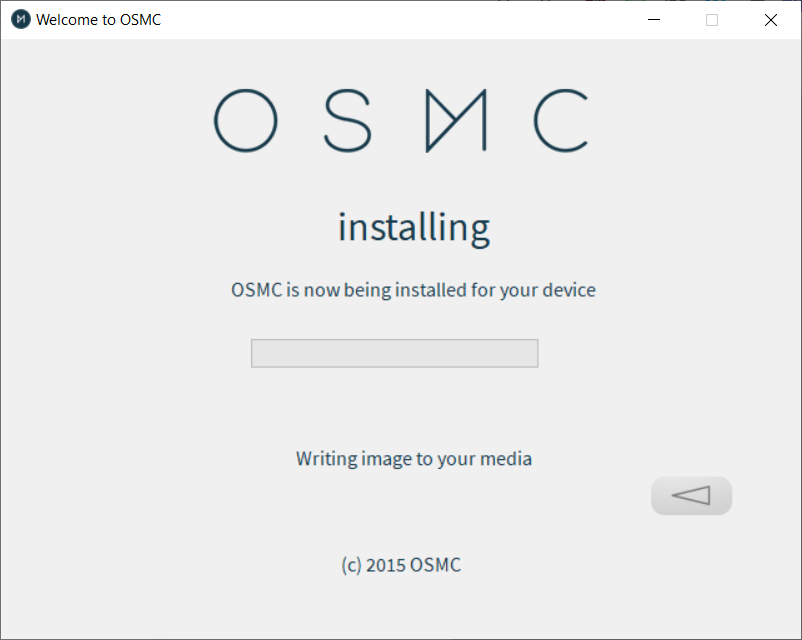
And waited until it fully installed.
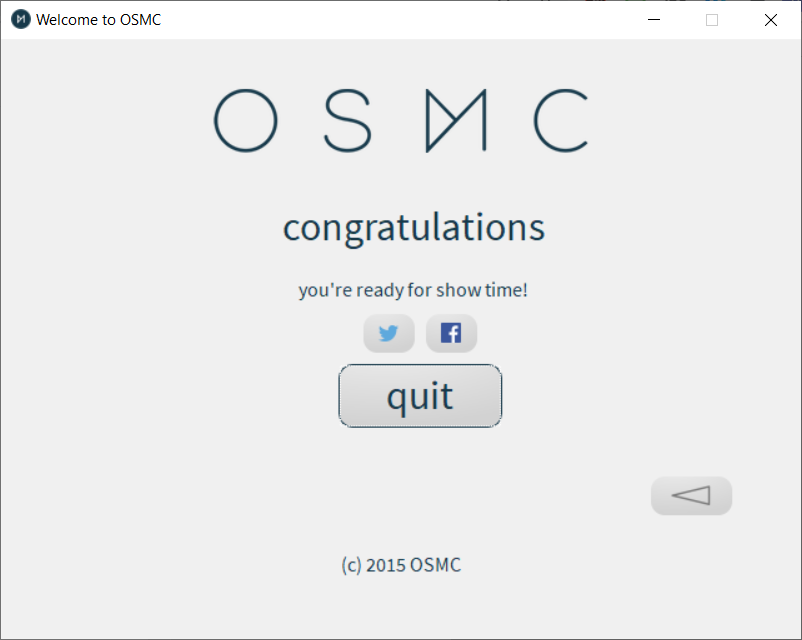
That’s it! Ejected the SD Card to securely remove it, removed the Card from the computer, and now it’s time to plug it in the Raspberry PI.
In the next post, we’ll walk through OSMC‘s first configuration.
Cheers!