

Good Morning!
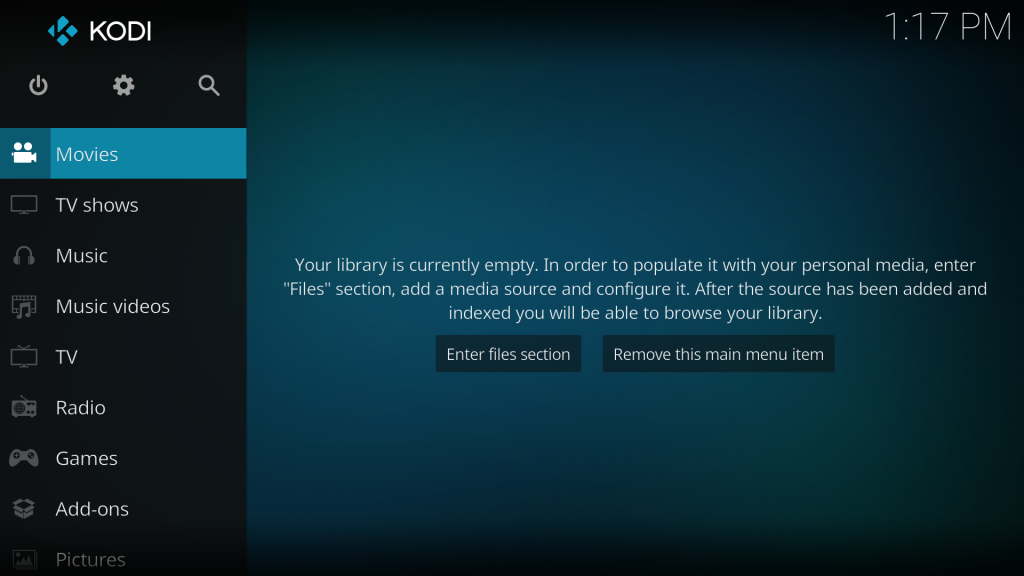
OSMC‘s initial configuration is very intuitive and straightforward.
You should have a micro SD Card with OSMC, produced like described in my previous post.
First, you need to insert the micro SD card with OSMC installed, connect a keyboard and a mouse to ease the configuration (I’m using my Media Center Keyboard), connect the PI to the Network through the Ethernet cable, connect also to a Monitor or a TV, and then plug the PI power supply, and power-on.
After OSMC‘s first boot, you’ll get a welcome screen, and the interface to choose the desired language, and next your time zone.

Then, choose a name for the device (default is osmc, changed mine to osmc-office), and after click/[ENTER] “Accept”.

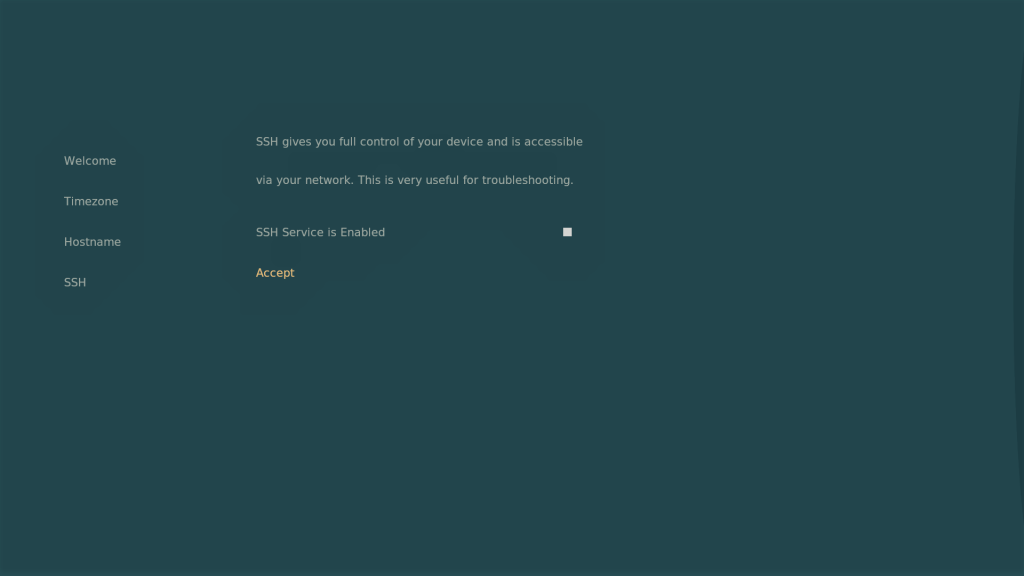
Leave the SSH service enabled and click/[ENTER] Accept – it’s a very useful way to configure the PI and OSMC remotely. Default username and password for SSH is osmc.
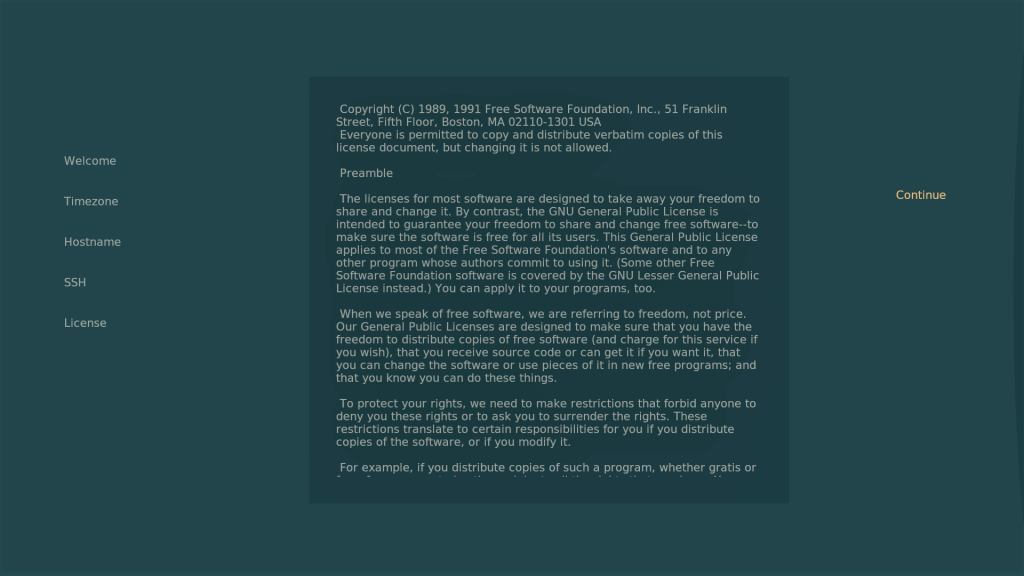
Then, press “Continue” to accept the license agreement.
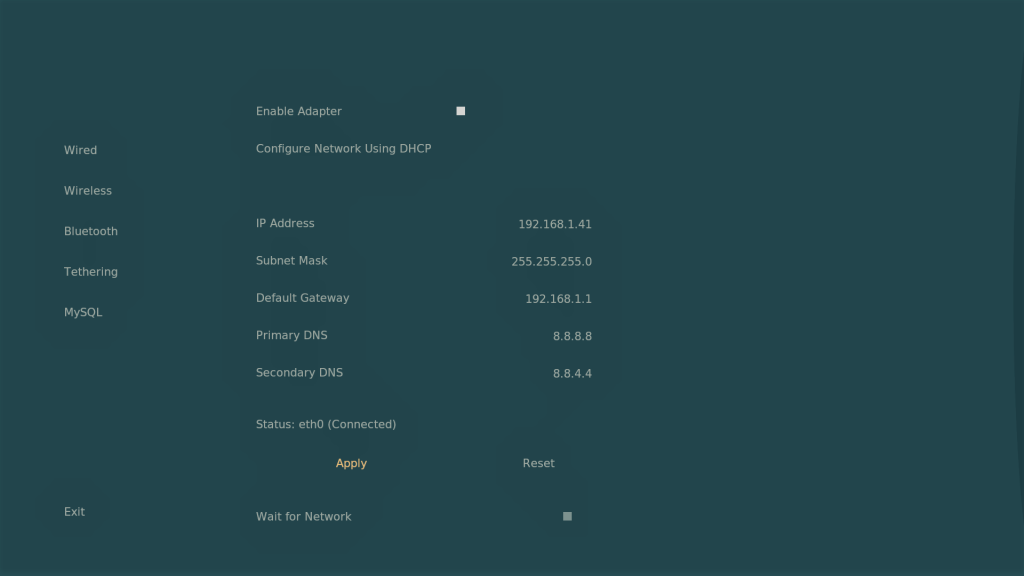
Now, to the Network configuration. Choose “I’d like to set up networking manually”. Configure your IP address (check your router to see an available IP, or use an IP scanner to be sure the IP is not being used by other device). I have 192.168.1.41 available, my router’s IP is 192.168.1.1, and set the DNS with Google’s DNS servers (8.8.8.8 and 8.8.4.4). Then, click Apply.
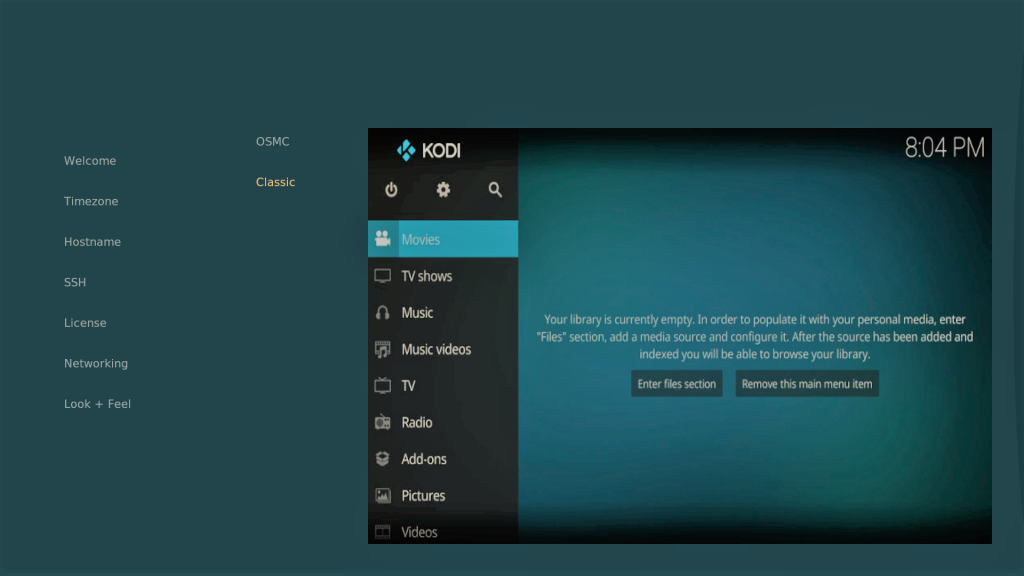
After this, choose the Look and Feel (OSMC‘s Theme). You have two themes available: OSMC and Classic (KODI‘s default theme). I’m choosing the Classic one.
If you want to sign-up for OSMC‘s newletters, choose the first option, else click “No thanks”, and that’s it! Press “Exit” and OSMC is running!
Now I need to configure the connection to my Media Libraries (Synology), configure the IQaudio Pi-Digi+ board, and the Video Codecs Licenses. On the next posts we’ll go though these subjects.
Cheers!